Part 1
${part1}
${part1}
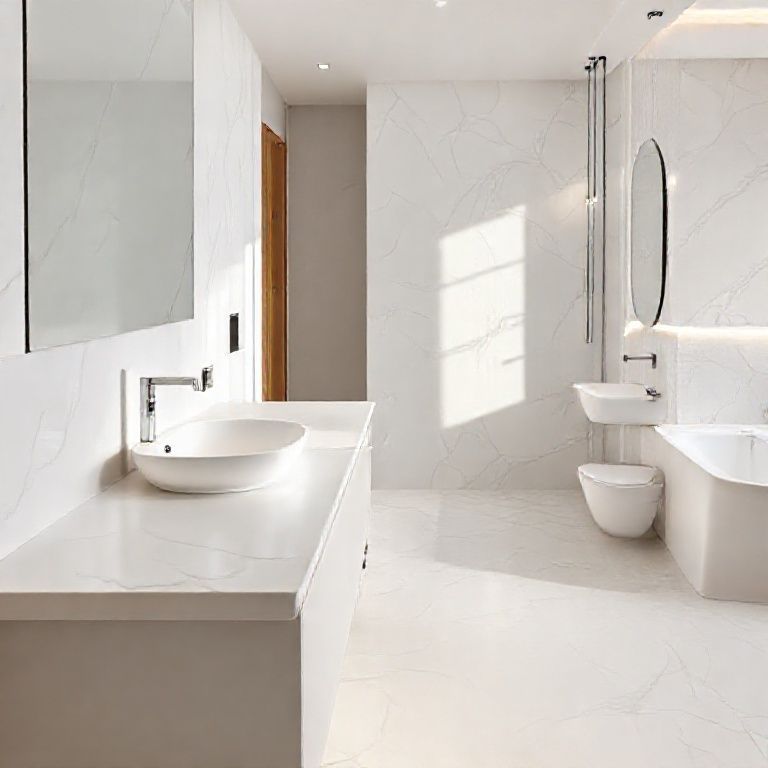
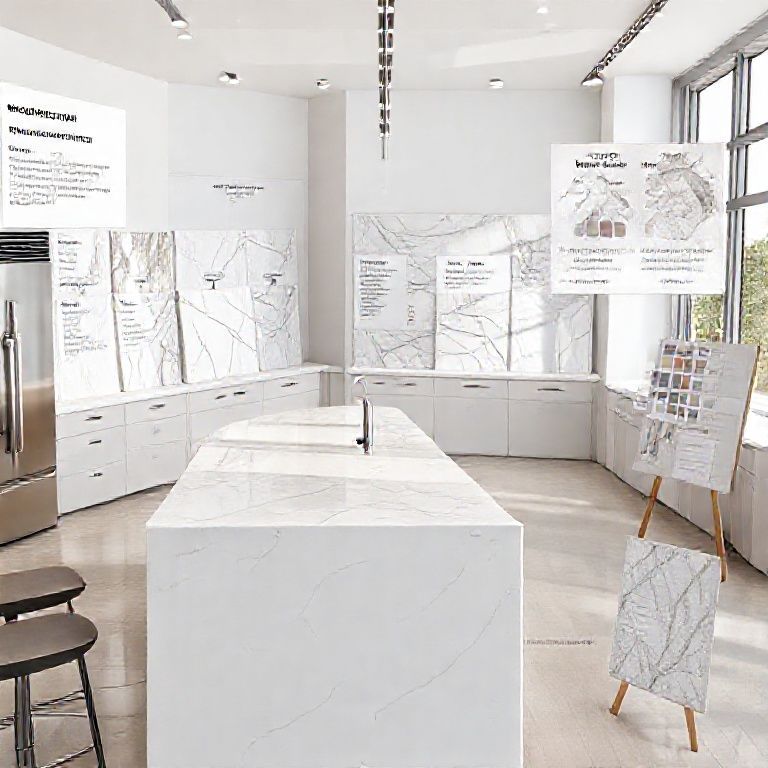
Embarking on a marble renovation project is not just about aesthetic enhancement but also about preserving the longevity and beauty of this exquisite material. Marble is a timeless choice for flooring, countertops, and walls, but its beauty can fade over time due to various factors like spills, stains, and wear and tear. Therefore, marble renovation has become a crucial step in maintaining its pristine look. In this article, we will explore the comprehensive process of marble renovation, focusing on the timeframe and detailing each step to give you a clear understanding of what to anticipate.

The Initial Planning Stage
The first step in any renovation project, including marble renovation, is meticulous planning. This stage involves a series of critical decisions that set the foundation for the entire process.
1. Assessment and Consultation
Before starting any renovation, it’s essential to have a thorough assessment of the existing marble surface. A professional marble specialist will inspect the marble to identify any damage, stains, or deterioration. This assessment helps determine the extent of the renovation required. During this stage, the specialist will also discuss the project’s scope, budget, and timeline with you.
2. Choosing the Right Marble Specialist
Selecting a qualified and experienced marble specialist is paramount. Look for professionals who have a proven track record in marble renovation and restoration. Check their portfolio, read reviews, and ask for references to ensure you’re partnering with a reliable expert.
3. Designing the Renovation Plan
Based on the assessment, the specialist will create a detailed renovation plan. This plan will outline the methods and techniques to be used, including cleaning, resurfacing, or full restoration. The plan will also include timelines, costs, and potential outcomes.
Preparation and Cleaning
Once the planning phase is complete, the preparation and cleaning stage begins. This stage is crucial as it sets the stage for a successful renovation.
1. Surface Cleaning
The first step is a deep clean of the marble surface. This involves removing dirt, grime, and old sealants using specialized cleaning agents. The cleaning process ensures that the marble is free from any contaminants that could interfere with the renovation process.

2. Descaling
Marble can accumulate calcium deposits and other mineral buildups over time. Descaling involves using chemical solutions to remove these deposits. This step is critical for restoring the marble’s original luster.
3. Surface Inspection
After cleaning, a thorough inspection is conducted to ensure the marble is clean and ready for the next steps. Any remaining stains or damage will be addressed at this stage.
The Renovation Process
With the marble surface prepared, the actual renovation process begins. This stage involves various techniques depending on the extent of the damage and desired outcome.
1. Polishing and Resurfacing
For minor repairs and to restore shine, polishing and resurfacing are often used. Polishing involves using abrasive compounds and polishing machines to smooth out minor scratches and enhance the marble’s shine. Resurfacing, on the hand, involves grinding the surface to remove more significant imperfections and then polishing it to a smooth finish.
2. Repairing Cracks and Chips
Cracks and chips can mar the appearance of marble. Repairing these imperfections involves filling them with a compatible filler or resin and then grinding and polishing the area to blend it seamlessly with the surrounding marble.
3. Sealing the Marble
Sealing the marble after renovation is crucial to protect it from future stains and damage. A high-quality marble sealer is applied to create a protective barrier. The number of coats needed depends on the level of exposure and the desired level of protection.
The Timeframe for Marble Renovation
Understanding the timeframe for marble renovation is essential for managing expectations and planning accordingly. The duration of the project can vary based on several factors, including the size of the area being renovated, the extent of damage, and the complexity of the renovation required.
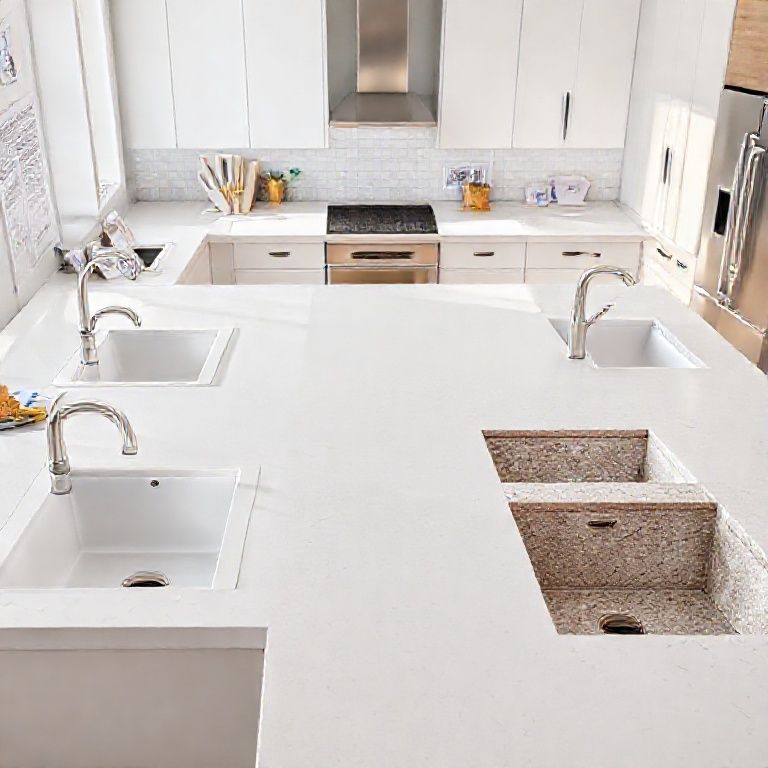
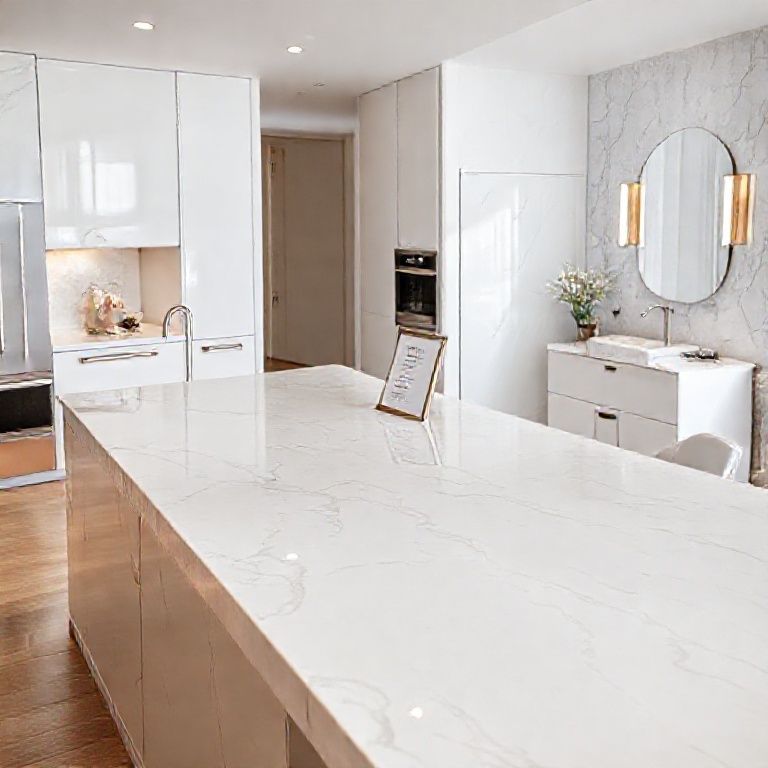
1. Small Surface Areas
For smaller areas like a kitchen countertop or a single bathroom wall, the renovation process typically takes between one to three days. This includes the time for cleaning, repairing, polishing, and sealing.
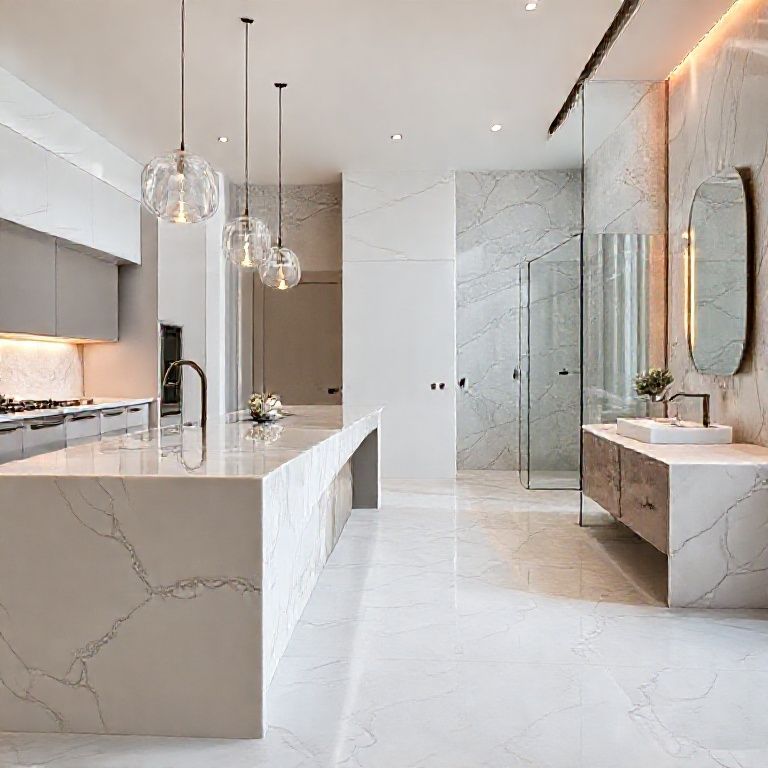
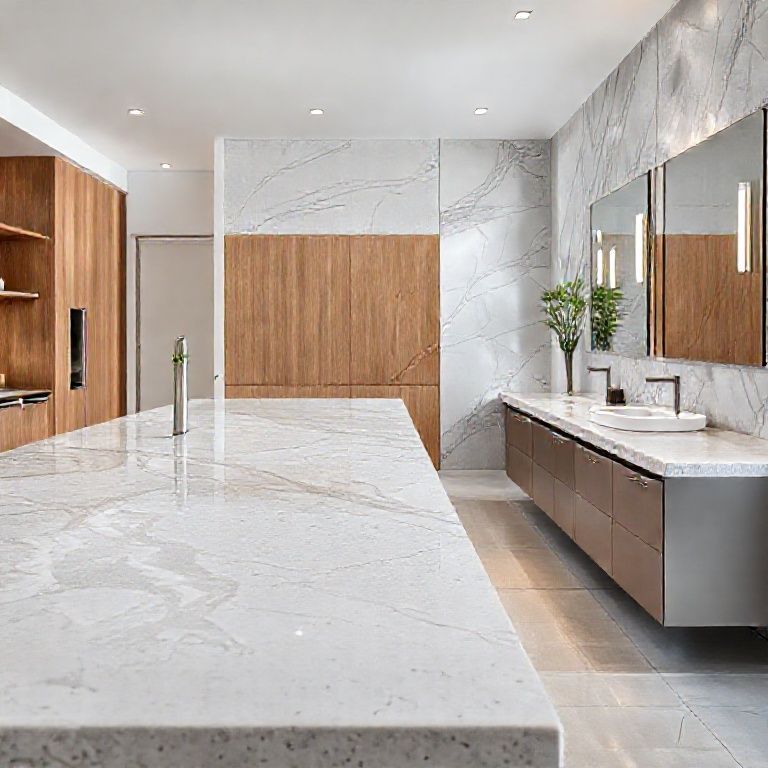
2. Larger Surface Areas
For larger areas such as floors or multiple walls, the process can take anywhere from a week to two weeks or more. Larger projects require more time for thorough cleaning, repairing, and applying multiple layers of sealer.
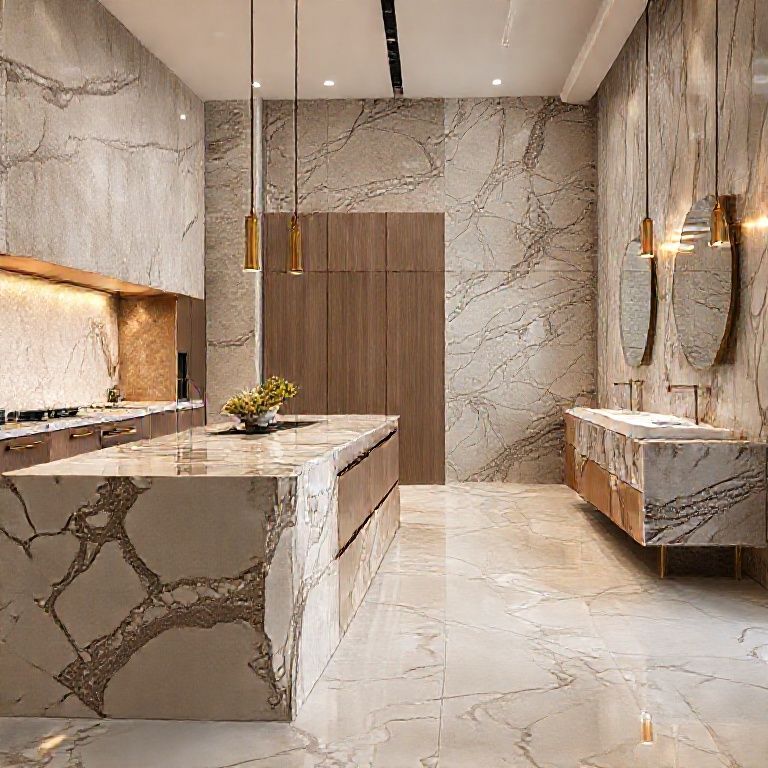
3. Full Restoration Projects
For extensive restoration projects, where the marble has significant damage or requires full replacement of surfaces, the timeline can extend to several weeks. These projects may involve multiple stages of cleaning, repairing, and polishing, followed by extensive sealing.
Post-Renovation Care
Once the renovation is complete, it’s important to maintain the marble to ensure its longevity and beauty.
1. Regular Cleaning
Regular cleaning with a mild soap and water solution can help maintain the shine and prevent stains. Avoid using harsh chemicals that could damage the marble.
2. Avoiding Damage
Use coasters and placemats to protect the marble from spills and scratches. Avoid placing hot objects directly on the marble surface.
3. Professional Maintenance
Periodic professional cleaning and sealing can extend the life of the renovated marble. A marble specialist can recommend a maintenance schedule based on the level of exposure and the specific type of marble.
Part 2
${part2}
${part2}
${part2}
While the previous part covered the initial stages and the intricate process of marble renovation, this part will delve deeper into the timeline specifics and maintenance considerations to ensure the longevity of your newly renovated marble surfaces.
Detailed Timeline Breakdown
Understanding the detailed timeline of a marble renovation project can help you plan better and manage your expectations. Here’s a more comprehensive look at the phases involved and the typical duration for each.
1. Initial Planning and Assessment
Duration: 1-2 days
This phase involves assessing the condition of the marble, consulting with a specialist, and planning the renovation process. Depending on the complexity of the project, this can take a couple of days to complete.
2. Preparation and Cleaning
Duration: 1-3 days
This phase includes thorough cleaning and descaling of the marble surface. The duration can vary based on the size of the area and the extent of the grime and mineral buildup. For small areas, this might take a day, while larger areas could require up to three days.
3. Renovation Work
Duration: 1-2 weeks
The actual renovation work, which includes polishing, resurfacing, repairing cracks and chips, and sealing, can take anywhere from one to two weeks. The complexity and size of the renovation will significantly impact the duration.
4. Drying and Curing Period
Duration: 1-2 days
After applying the sealer, there is a drying and curing period that can take one to two days. This period allows the sealer to fully bond with the marble and achieve maximum protection.
5. Final Inspection and Touch-Ups
Duration: 1 day
Once the sealer has cured, a final inspection is conducted to ensure everything is in perfect order. Any minor touch-ups might be needed, which can take a day to complete.
Factors Influencing Renovation Timeframe
Several factors can influence the overall timeframe for marble renovation:
1. Size of the Area
The size of the area being renovated is a primary factor. Larger areas like floors or multiple walls will take longer to clean, repair, and seal compared to smaller areas like countertops or single walls.
2. Extent of Damage
The extent of the damage to the marble can significantly impact the duration. Minor repairs and polishing will take less time compared to extensive restoration work involving multiple repairs and full resurfacing.
3. Quality of Materials
Using high-quality materials for cleaning, repairing, and sealing can affect the efficiency of the process. Higher-quality materials often mean a smoother and more effective renovation process.
4. Weather Conditions
Weather conditions can sometimes affect the drying and curing time of sealers. In extreme weather, this period might be extended to ensure optimal results.
5. Availability of the Specialist
The availability of a qualified marble specialistcan impact the overall timeline. If the specialist is busy or if there are delays in material delivery, it could extend the project duration.
Maintenance Tips to Extend Marble Longevity
To ensure that your marble renovation lasts as long as possible, regular maintenance is key. Here are some essential tips to keep your marble looking pristine:
1. Regular Cleaning
Frequency: Weekly
Method: Use a mild soap and water solution to clean the marble surface. Avoid using abrasive cleaners or sponges that can scratch the marble.
2. Avoiding Damage
Tips:
Use coasters and placemats to protect the marble from spills and scratches. Avoid placing hot objects directly on the marble surface. Do not walk on wet marble surfaces to prevent water spots.
3. Professional Maintenance
Frequency: Annually
Service: Schedule periodic professional cleaning and sealing to protect the marble from stains and damage. A marble specialist can recommend a maintenance schedule based on the level of exposure and the specific type of marble.
4. Immediate Action for Spills
Tips:
Blot spills immediately with a clean, dry cloth to prevent them from setting into the marble. Use a marble-safe cleaner to clean up spills promptly.
5. Proper Ventilation
Tips:
Ensure good ventilation in areas with marble to prevent excessive moisture buildup, which can lead to mineral deposits and deterioration.
By following these maintenance tips, you can significantly extend the life and beauty of your marble renovation, ensuring it remains a stunning feature in your space for years to come.
Conclusion
Embarking on a marble renovation project is a detailed and rewarding endeavor that enhances the beauty and value of your space. Understanding the comprehensive process, from initial planning to final touches, and knowing the typical timeframe for each phase helps manage expectations and ensures a successful renovation. Additionally, maintaining your marble through regular care and professional maintenance will keep it looking magnificent for years to come. Whether you’re renovating a small countertop or an entire room, the journey of marble renovation is one that yields timeless results with the right care and attention.