Understanding Artificial Stone Countertops
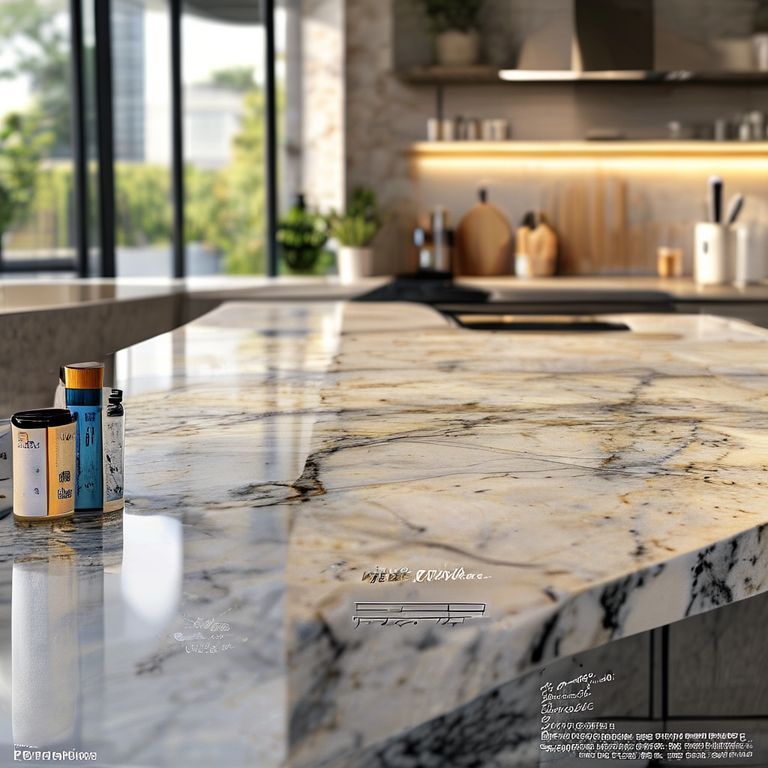
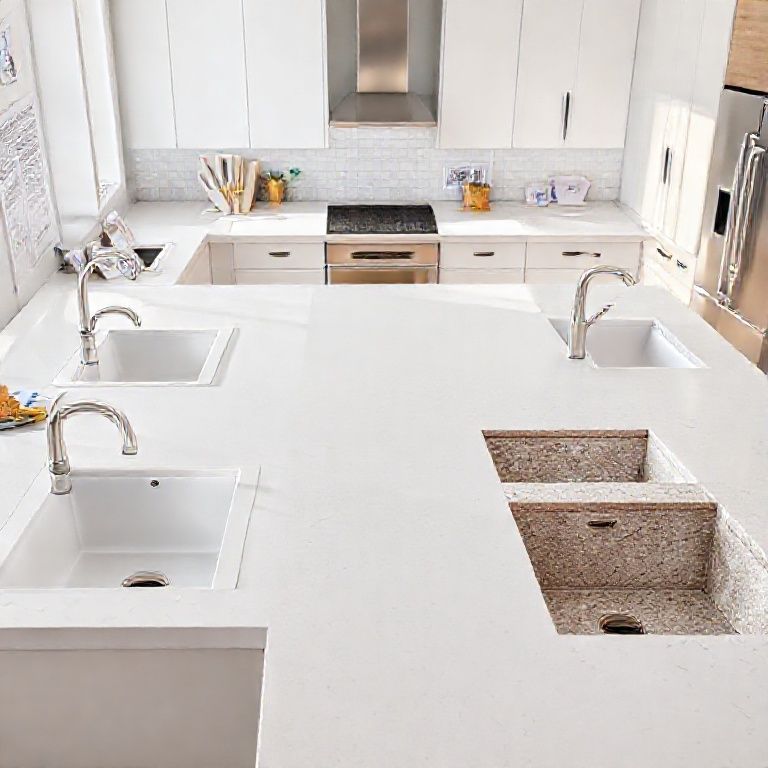
Artificial stone countertops have surged in popularity due to their striking aesthetics, durability, and affordability. Unlike natural stone, which can be expensive and prone to damage, artificial stone is a composite material crafted from natural stone powder, bonding agents, and other minerals. This combination results in a robust surface that mimics the look of natural stone while boasting enhanced properties like resistance to scratches, stains, and chips.
The Composition and Benefits of Artificial Stone
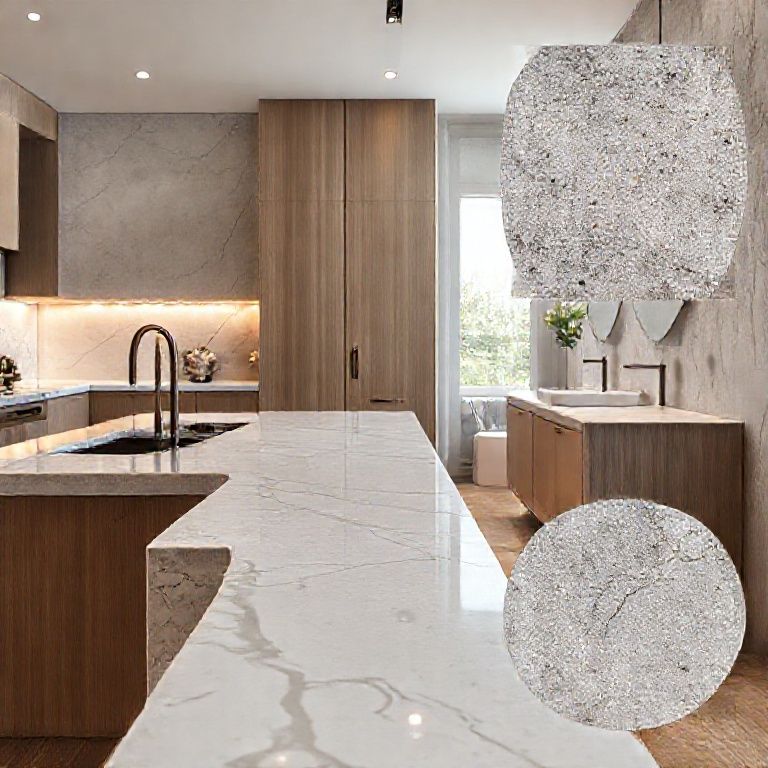
Artificial stone countertops are typically made using a process called “cold pressing,” where the raw materials are combined and molded under low heat and pressure. The outcome is a dense, monolithic surface that retains the visual appeal of natural stones such as granite, marble, or quartz. The benefits of artificial stone are numerous:
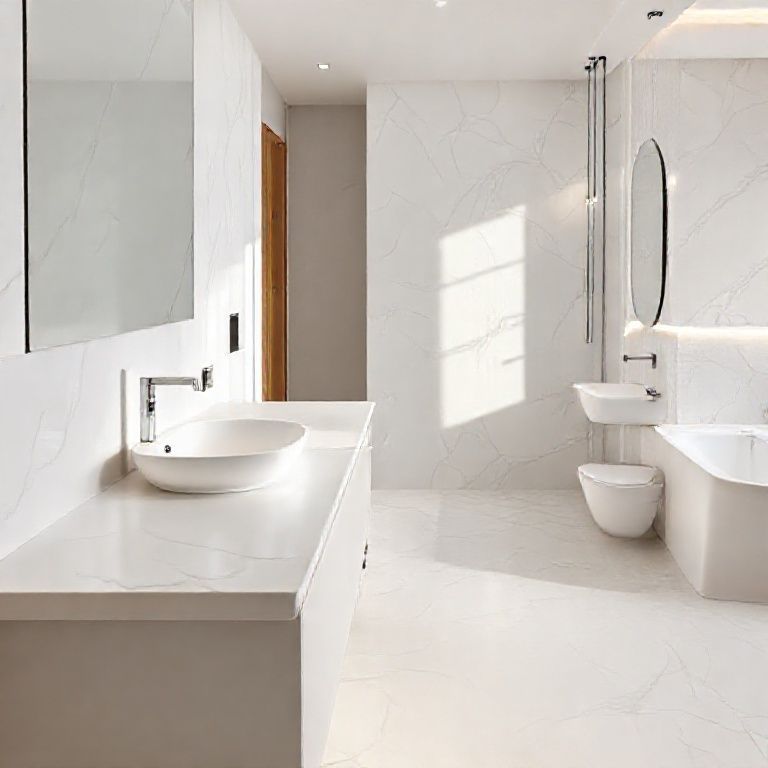
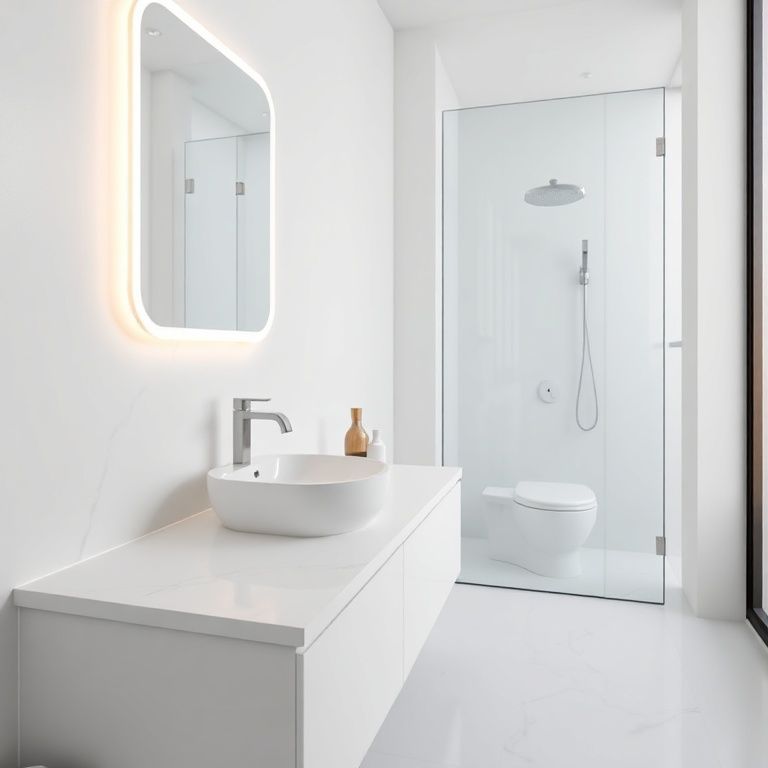
Durability: Artificial stone is highly resistant to scratches, stains, and heat, making it an excellent choice for high-traffic areas like kitchens and bathrooms.
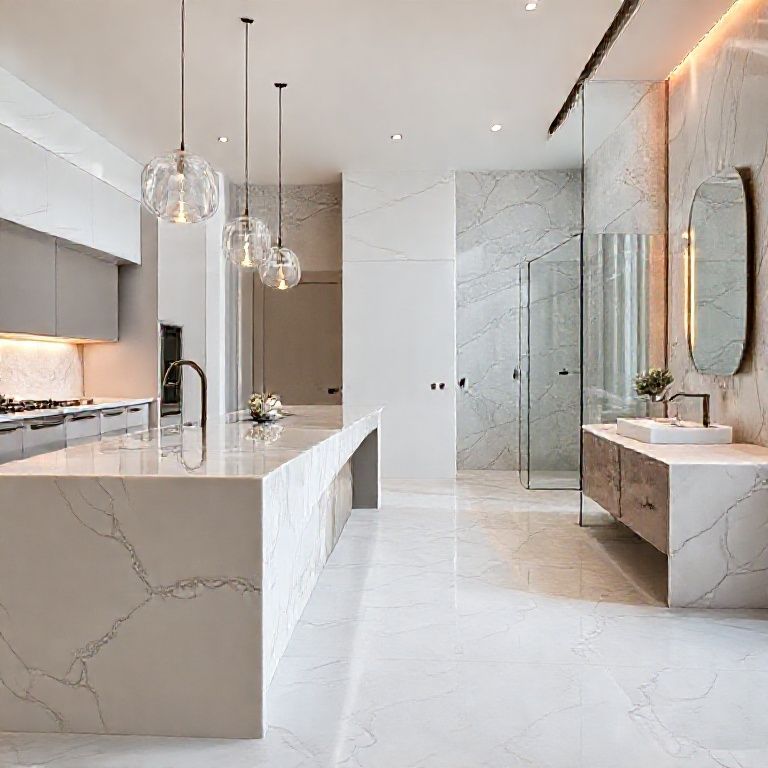
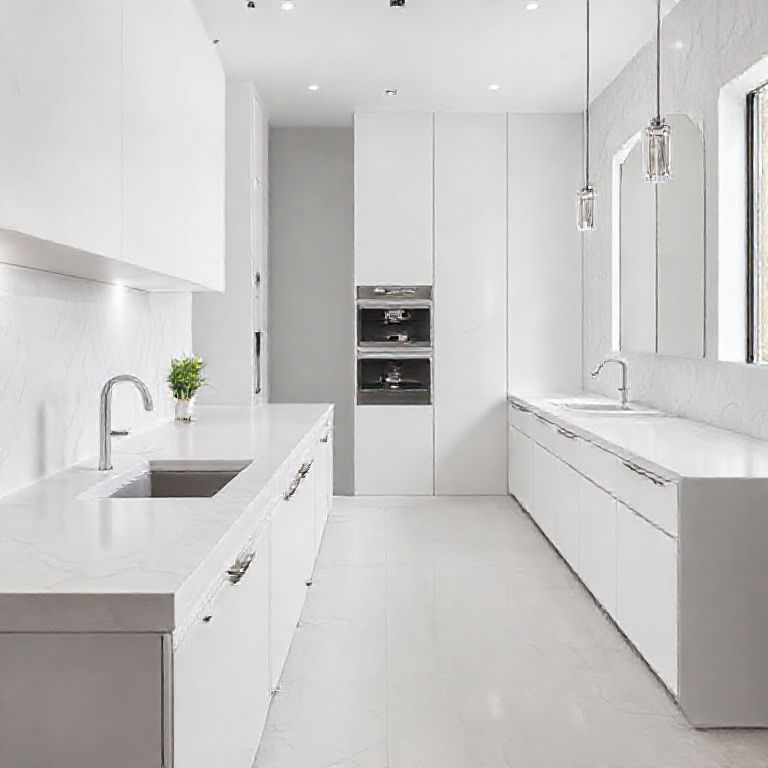
Aesthetic Variety: It offers a wide range of colors and patterns, allowing for endless design possibilities. You can easily find a style that matches your home’s decor.
Weight and Installation: Being less heavy than natural stone, artificial stone is easier to install. It also simplifies repairs and modifications.
Cost-Effectiveness: Generally, artificial stone is more affordable than most natural stone options, providing excellent value for money.
The Drilling Dilemma: Why It’s Challenging
Despite its many advantages, drilling holes in artificial stone countertops presents unique challenges. The main issue lies in the material’s dense, composite nature. Traditional drilling methods used for metal, wood, or even some types of natural stone may not be effective or efficient when applied to artificial stone. Here’s why:

Material Density: Artificial stone is designed to be dense and solid, which makes it incredibly durable but also resistant to traditional drilling techniques.
Heat Generation: Drilling can generate significant heat, which can cause the material to crack or warp, especially if the correct tools and techniques aren’t used.
Surface Damage: The act of drilling can lead to surface scratches and imperfections that mar the countertop’s appearance.
Preparation and Planning: The First Steps
Before attempting to drill holes in your artificial stone countertop, thorough preparation is key. Here’s a step-by-step guide to get you started:
Assess Your Needs: Determine why you need to drill holes and the size and depth required. This will help in choosing the right tools and techniques.
Choose the Right Tools: Opt for specialized tools designed for drilling into composite materials. A carbide-tipped drill bit is often recommended for its durability and ability to cut through dense materials without overheating.
Mark Your Spot: Carefully mark the area where you intend to drill. Use a pencil or marker that won’t stain the surface.
Safety First: Ensure you have the proper safety equipment. This includes safety glasses, gloves, and a dust mask to protect against debris and dust.
Test a Small Area: If possible, test your drilling method on a small, inconspicuous area first to ensure it works without damaging the surface.
In the next part, we will delve deeper into the techniques for drilling holes in artificial stone countertops, exploring specialized tools and methods that can help you achieve the desired outcome without compromising the integrity of your countertop.
Mastering the Art of Drilling in Artificial Stone Countertops
Now that we’ve covered the basics of artificial stone countertops and the challenges they present when it comes to drilling, it’s time to dive into the detailed techniques and tools that can make this task manageable and successful.
Specialized Tools for Drilling
To achieve clean, precise holes in artificial stone without damaging the surface, specialized tools and techniques are essential. Here’s a closer look at what you’ll need:
Carbide-Tipped Drill Bits: As previously mentioned, carbide-tipped drill bits are preferred for their durability and ability to handle the density of artificial stone. They also reduce the risk of overheating, which is crucial for maintaining the integrity of the material.
Diamond-Tipped Bits: For very precise work or when drilling through extremely dense areas, diamond-tipped bits can be more effective. These bits are capable of cutting through tough materials without generating excessive heat.
Dremel Tools: A Dremel tool, which is essentially a miniature rotary tool, can be very useful for detailed work. It allows for more control and can be equipped with various bits and attachments, including diamond-tipped cutting wheels.
Angle Grinders: An angle grinder with a diamond cutting disc can be used for larger holes or when making clean cuts through the countertop. This tool provides more power and control compared to a standard drill.
Step-by-Step Drilling Technique
Now that you have your tools, let’s walk through the detailed process of drilling holes in an artificial stone countertop:
Preparation: Secure the countertop in a stable, flat surface to prevent movement during drilling. Ensure the area around the drilling site is clear of any obstacles that could interfere with the process. Marking the Spot: Use a pencil or marker to clearly mark the spot where you intend to drill. Ensure the mark is precise and visible. Starting the Hole: Begin with a smaller drill bit to start the hole. This will create a pilot hole that makes it easier to start with a larger bit. Drill slowly at a moderate speed to avoid generating excessive heat. Start with a carbide-tipped bit and switch to a diamond-tipped bit if necessary. Drilling the Hole: Once the pilot hole is established, switch to a larger carbide-tipped bit for the final hole size. Continue drilling slowly and steadily. If you notice the bit overheating, pause and let it cool down to avoid damaging the material. Cleaning Up: After drilling, inspect the hole for any rough edges or imperfections. You can use a Dremel tool with a sanding attachment to smooth out the edges. Clean the countertop with a damp cloth to remove any dust and debris.
Practical Tips and Considerations
While drilling holes in artificial stone countertops is feasible with the right tools and techniques, there are some practical considerations to keep in mind:
Heat Management: Always be mindful of heat generation. If the drill bit starts to get too hot, pause and let it cool down to prevent the countertop from cracking.
Surface Protection: Use a clamps or weights to secure the countertop in place. This prevents movement and ensures a straight, clean hole.
Finishing Touches: After drilling, consider sealing the countertop to protect it from stains and maintain its aesthetic appeal. Many artificial stone surfaces can be sealed with a high-quality sealant.
Professional Help: If you’re not confident in your ability to drill holes in artificial stone, consider hiring a professional. They have the expertise and tools to ensure the job is done correctly and safely.
Final Thoughts
Drilling holes in artificial stone countertops is a task that requires careful planning, the right tools, and a bit of patience. While it presents unique challenges due to the material’s density, with the proper techniques and equipment, you can successfully make the necessary holes without compromising the integrity of your countertop. Whether you’re adding a sink, faucet, or other fixtures, following these steps will help you achieve a functional and aesthetically pleasing result.
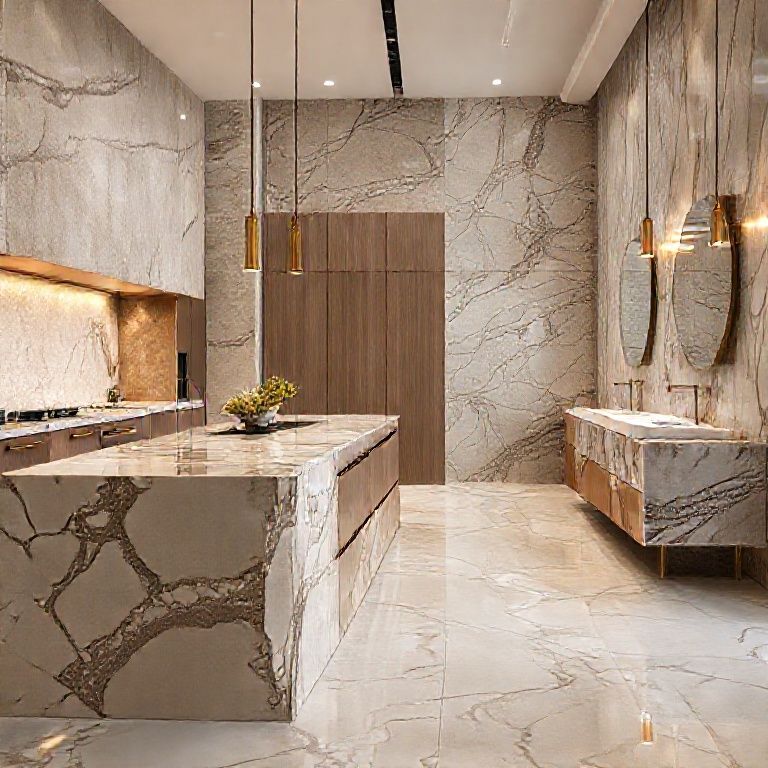
In conclusion, artificial stone countertops offer a versatile and durable option for kitchen and bathroom renovations. With the right approach to drilling, you can enhance the functionality of your space without sacrificing style or durability. Happy drilling!