Discover the intricacies of marble renovation through our detailed project plan template. Learn about the necessary steps, materials, and techniques to ensure a flawless finish. Perfect for both novices and experienced professionals, this guide provides all the essential information for a successful marble renovation project.

marble renovation, renovation project plan, marble restoration, renovation techniques, marble maintenance, renovation materials, renovation steps, marble polishing, marble cleaning
Comprehensive Marble Renovation Project Plan Template
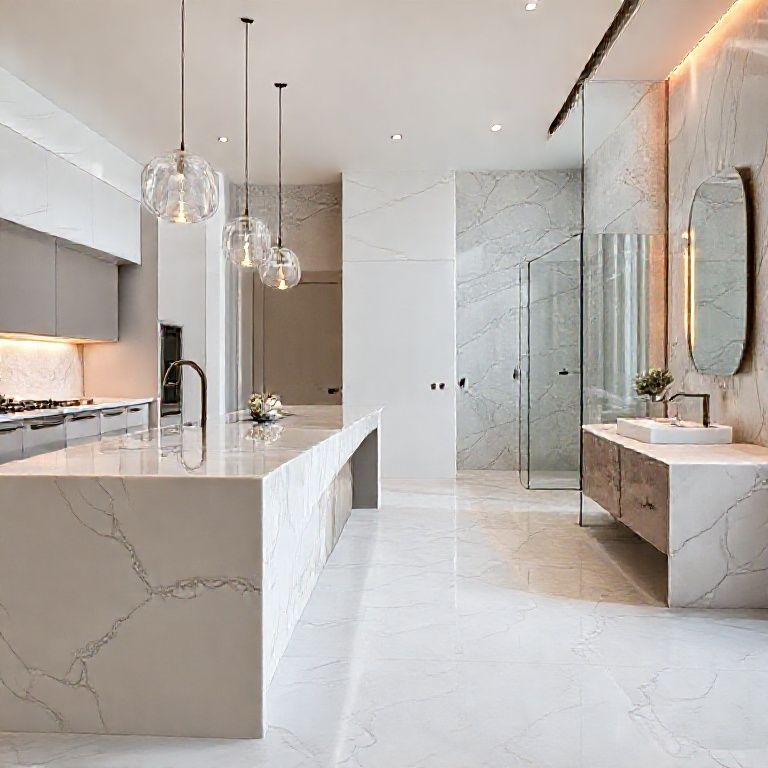
When it comes to enhancing the beauty and longevity of your marble surfaces, a well-thought-out renovation project plan is essential. Marble, renowned for its elegance and durability, requires meticulous care to maintain its stunning appearance. Here’s a detailed template to guide you through the marble renovation process, ensuring a flawless finish.
Understanding the Importance of Marble Renovation
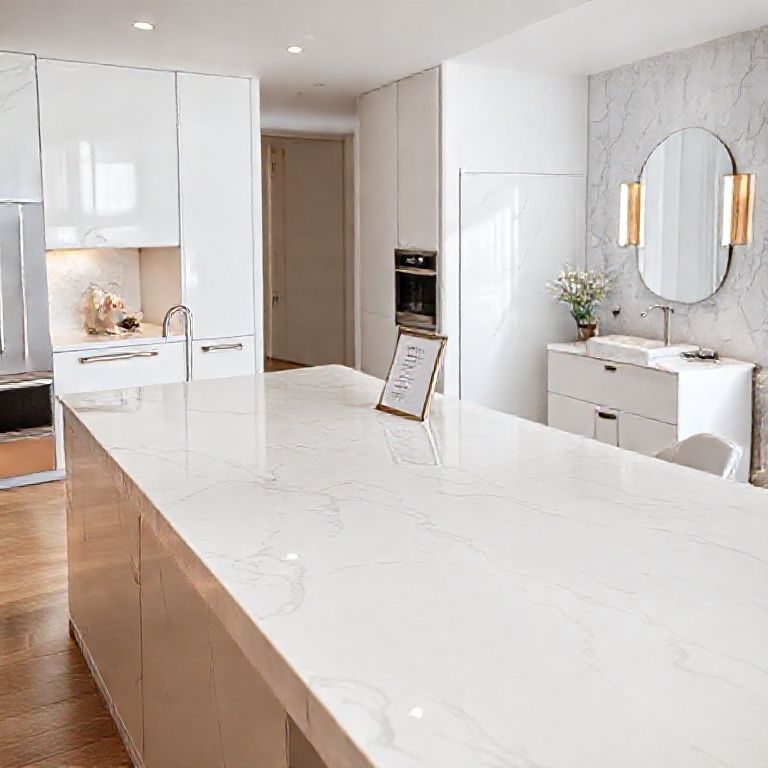
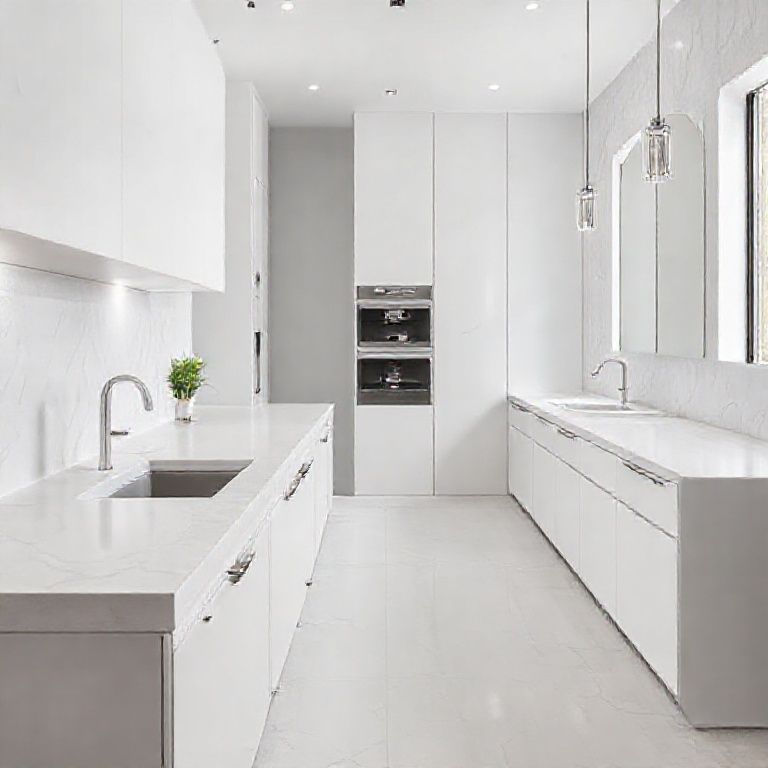
Marble, a popular choice for countertops, flooring, and decorative elements, is susceptible to scratches, stains, and wear over time. Regular renovation not only restores its original beauty but also extends its lifespan. This plan covers essential steps, materials, and techniques to execute a successful marble renovation.
Step 1: Preliminary Assessment and Planning
1.1 Visual Inspection
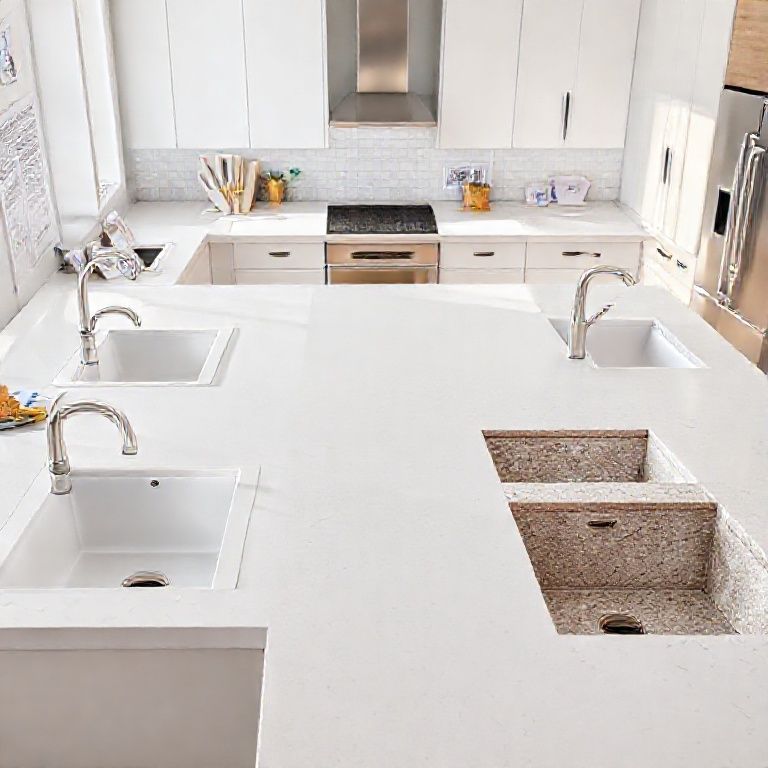
Before diving into renovation, a thorough visual inspection is crucial. Identify areas that require attention, such as scratches, stains, or structural damage. Take photographs to document the current state, which will help in planning the renovation process.
1.2 Material Analysis
Understanding the type of marble you are dealing with is key. Different marble types may require different renovation techniques. Consulting a marble specialist can provide insights into the specific characteristics of your marble.
1.3 Scope of Work
Define the scope of the renovation project. Will it involve only cleaning, or do you need to address structural issues? A clear scope ensures that all necessary steps are included in the plan.
1.4 Budgeting
Establish a budget that covers all aspects of the renovation, including materials, tools, and labor. Keeping a budget in mind helps in making informed decisions throughout the project.
Step 2: Gathering Necessary Materials and Tools
2.1 Essential Tools
Marble Polishing Machine: For removing stains and scratches. Diamond-Tipped Tools: For grinding and polishing marble surfaces. Microfiber Cloths: For cleaning and polishing. Safety Gear: Gloves, goggles, and masks to protect yourself during renovation.
2.2 Renovation Materials
Sealants: To protect the marble after polishing. Cleaning Solutions: Specialized marble cleaners for different types of stains. Polishing Compounds: High-quality compounds for achieving a polished finish. Fillers: For repairing minor cracks or imperfections.
Step 3: Preparation and Safety Measures
3.1 Area Preparation
Ensure the area is clean and free of any objects that might interfere with the renovation process. Cover the surrounding areas with plastic sheets to protect them from dust and debris.
3.2 Safety Protocols
Wearing appropriate safety gear is non-negotiable. Ensure that all tools are in good working condition and that you follow safety guidelines while using them.
Step 4: Cleaning the Marble Surface
4.1 Initial Cleaning
Begin with a thorough cleaning using a specialized marble cleaner. This removes surface dirt and prepares the marble for deeper cleaning and polishing.
4.2 Deep Cleaning
For stubborn stains or heavy grime, use a combination of cleaning solution and a soft-bristle brush. Scrub gently to avoid scratching the marble surface.
4.3 Drying
Allow the marble to dry completely before proceeding to the polishing stage. Moisture can interfere with the effectiveness of polishing compounds.
Step 5: Polishing and Restoration
5.1 Light Polishing
Start with light polishing to remove minor scratches and stains. Use a polishing machine with a suitable diamond-tipped pad and a polishing compound. Follow the manufacturer’s instructions for the best results.
5.2 Heavy Polishing
For more significant imperfections, apply heavier polishing. This step requires more effort but yields a superior finish. Always start with a coarse pad and gradually move to finer pads for a smooth surface.
5.3 Final Polish
Once the surface is polished, use a final polish to enhance the shine. This step ensures that the marble looks like new and is protected against future damage.
Step 6: Sealing the Marble
6.1 Application of Sealant
After polishing, apply a high-quality marble sealant. This protects the marble from future stains and scratches. Follow the manufacturer’s instructions for the application process.
6.2 Curing Time
Allow sufficient time for the sealant to cure. This ensures that it forms a protective barrier on the marble surface.
Step 7: Final Inspection and Touch-Ups
7.1 Inspection
Conduct a final inspection to ensure that the marble surface is polished and sealed to your satisfaction. Look for any missed spots or areas that need touch-ups.
7.2 Touch-Ups
If necessary, perform any additional polishing or sealing on specific areas. Ensure uniformity and a flawless finish.
Comprehensive Marble Renovation Project Plan Template
Continuing from where we left off, let’s delve deeper into the specifics of a marble renovation project, ensuring that your marble surfaces not only look stunning but also remain durable and protected.
Step 8: Maintenance and Care Post-Renovation
8.1 Daily Maintenance
To keep your marble looking its best, regular maintenance is essential. Use a soft, dry microfiber cloth to wipe down the marble daily. Avoid using abrasive cleaners or sponges that can scratch the surface.
8.2 Regular Cleaning
Implement a regular cleaning schedule. For minor spills, blot with a soft cloth instead of rubbing. For heavier spills, clean immediately to prevent stains. A mild marble cleaner can be used once a week to maintain shine.
8.3 Avoiding Harsh Chemicals
Marble is sensitive to harsh chemicals, which can damage its surface. Avoid using bleach, ammonia, or vinegar-based cleaners. Opt for pH-neutral cleaners that are safe for marble.
8.4 Immediate Stain Treatment
In the event of a spill or stain, treat it immediately. Blot the spill with a dry cloth to remove as much of the substance as possible before cleaning with a mild marble cleaner.
Step 9: Long-Term Protection
9.1 Protective Coatings
Consider applying a protective coating to high-traffic areas. These coatings form a barrier that protects the marble from spills and stains, making it easier to clean.
9.2 Regular Inspections
Schedule periodic inspections to check the condition of the marble. Early detection of scratches or stains can prevent more significant damage and reduce the need for extensive renovation.
9.3 Professional Maintenance
Hiring a professional for periodic maintenance ensures that your marble stays in pristine condition. Professionals have the expertise and tools to handle any issues that arise.
Step 10: Addressing Common Issues
10.1 Scratches
Minor scratches can often be polished out using the techniques mentioned in the renovation plan. For deeper scratches, a professional polishing service may be required.
10.2 Stains
Different stains require different cleaning solutions. For organic stains, use a specialized marble cleaner. For mineral stains, a stronger cleaning solution may be needed. Always test cleaning solutions on a small, inconspicuous area first.
10.3 Cracks
Minor cracks can often be filled with a marble filler. For larger cracks, it’s best to consult a professional who can repair or restore the marble to its original condition.
Step 11: Future-Proofing Your Marble
11.1 Choosing Quality Marble
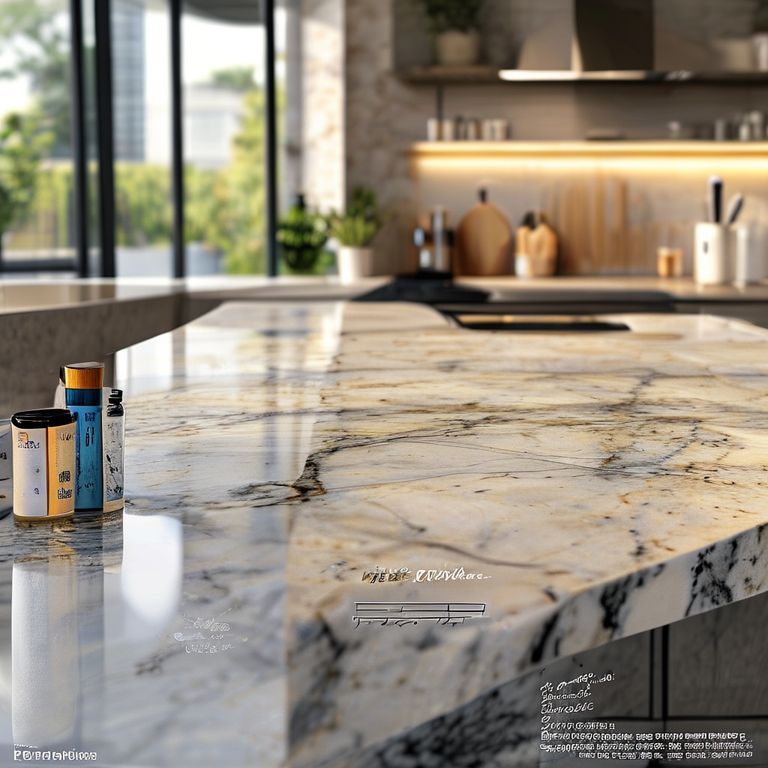
When selecting marble for new installations, opt for high-quality, durable varieties. Marbles with a higher calcium content tend to be more resistant to stains and scratches.
11.2 Proper Installation
Ensure that marble is installed correctly to prevent future damage. This includes using appropriate adhesives, sealants, and ensuring that the marble is securely fastened.
11.3 Up-to-Date Techniques
Stay informed about the latest marble renovation techniques and products. Advancements in cleaning and polishing technologies can offer better results and longer-lasting protection.
Conclusion
Marble renovation is a meticulous process that requires careful planning, the right materials, and expertise. By following this comprehensive project plan, you can restore your marble surfaces to their original beauty and extend their lifespan. Regular maintenance and professional care will ensure that your marble remains a stunning focal point in your home or business for years to come.
Incorporating this detailed marble renovation plan into your project will not only yield beautiful results but also enhance the durability and longevity of your marble surfaces. Whether you’re a novice or an experienced professional, this guide provides the essential steps and insights needed for a successful marble renovation.