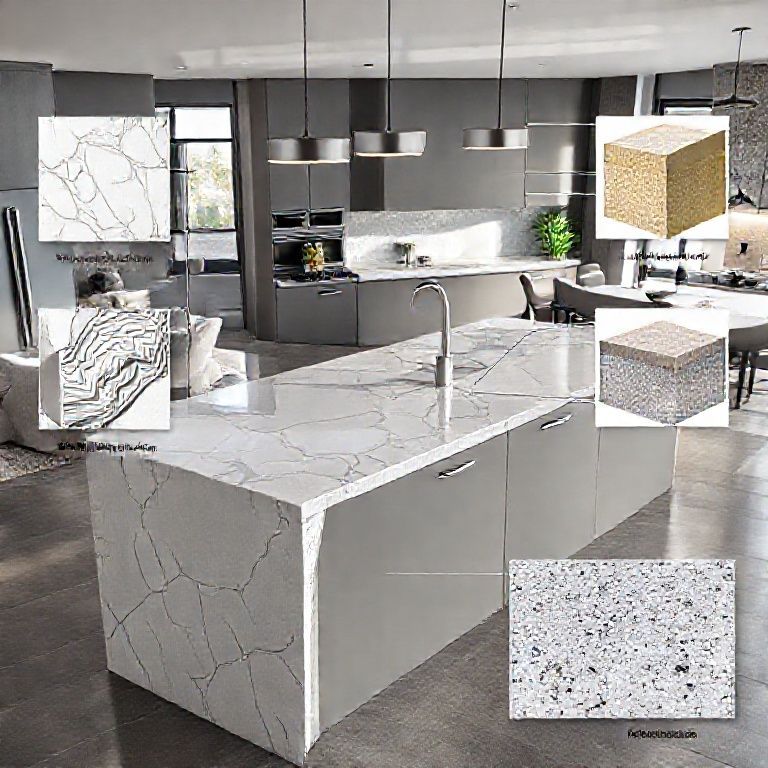
Identifying the Damage and Gathering Materials
When it comes to repairing a broken artificial stone countertop, the first and most crucial step is to identify the nature and extent of the damage. Artificial stone, often made from a combination of minerals and resin, can be prone to breakages, scratches, and chips. Understanding the type of damage will determine the repair method and materials you need.

Step 1: Inspect the Damage
Identify the Type of Damage: Look closely at the broken area. Is it a deep crack, a chip, or a small crack? The type of damage will dictate the repair process. Assess the Extent: Determine if the crack or chip is superficial or if it goes deep into the stone. This will influence the repair materials and techniques required. Check for Loose Pieces: If the broken pieces are still attached, gently try to push them back into place. This can give you an idea of the stability of the area.
Step 2: Gather Necessary Materials
Depending on the extent of the damage, you might need different materials. Here’s a list of common items you may require:
Epoxy Resin: A two-part epoxy resin specifically designed for artificial stone repairs is essential. Ensure it is compatible with the type of stone you have. Stone Repair Kits: Some kits come with pre-mixed resin and color-matching pigments to ensure a seamless repair. Sandpaper and Polishing Pads: For smoothing out the repaired area, different grits of sandpaper (ranging from coarse to fine) are necessary. Cleaning Supplies: Isopropyl alcohol or a stone countertop cleaner to ensure the surface is clean before applying the repair. Protective Gear: Gloves, safety glasses, and a dust mask to protect yourself during the repair process.
Step 3: Preparing the Surface
Proper surface preparation is key to a successful repair:
Clean the Area: Thoroughly clean the broken area using a stone countertop cleaner and a soft cloth to remove any grease, dust, or debris. Dry the Surface: Make sure the area is completely dry before beginning the repair to avoid any moisture interfering with the epoxy resin. Sand the Edges: If there are sharp or rough edges, gently sand them down using coarse sandpaper to create a smooth surface for the epoxy to adhere to.
Step 4: Applying the Repair
Once the surface is prepared, you can begin the repair process:
Mix the Epoxy: Follow the manufacturer’s instructions for mixing the epoxy resin. It’s important to get the correct ratio to ensure a strong bond. Apply the Epoxy: Use a small brush or applicator to apply the epoxy resin to the broken area. Ensure it penetrates into the cracks and gaps thoroughly. Smooth the Surface: Once the epoxy has been applied, use a clean cloth or applicator to smooth out the surface, removing any excess epoxy that may have seeped out. Cure the Epoxy: Allow the epoxy to cure as per the manufacturer’s instructions. This usually involves leaving it undisturbed for several hours to ensure it hardens properly.
By following these steps, you can effectively repair a broken artificial stone countertop, restoring its original beauty and functionality. In the next part, we will delve into more advanced techniques and tips for achieving a seamless and professional-looking repair.
Advanced Repair Techniques and Finishing Touches
After following the initial steps for repairing a broken artificial stone countertop, it’s time to explore more advanced techniques to ensure a flawless finish. This section will cover additional methods for a perfect repair, including color matching, polishing, and sealing to protect your countertop.
Step 1: Color Matching for a Seamless Repair
Select the Right Pigments: If your repair kit doesn’t have color-matching pigments, you may need to purchase a separate set. These pigments are available in various shades that can match your countertop’s color. Mix the Pigments: Carefully mix the pigments into the epoxy resin to match the color of your artificial stone. It’s important to do this in small batches to ensure the color is accurate. Test the Color: Apply a small amount of the mixed epoxy to a inconspicuous area to test the color. If the color is correct, proceed with the repair. If not, adjust the pigment ratio and test again.
Step 2: Achieving a Seamless Blend
Blend the Epoxy: Once the epoxy is applied and begins to cure, use a clean, soft cloth or applicator to blend the repaired area with the surrounding countertop. This helps to create a seamless transition and reduces the visibility of the repair. Sanding the Surface: After the epoxy has cured, lightly sand the repaired area using fine-grit sandpaper. This will help to smooth out any imperfections and create a uniform surface. Polishing: Use a polishing pad and a stone countertop polish to give the repaired area a shine that matches the rest of the countertop. This will enhance the overall appearance and make the repair virtually invisible.
Step 3: Sealing the Repair
Sealing the repaired area is crucial to protect the countertop from future damage and maintain its appearance:
Choose a Sealer: Select a high-quality sealer that is specifically designed for artificial stone. This will create a protective barrier against stains, spills, and scratches. Apply the Sealer: Using a clean cloth, apply the sealer to the repaired area, ensuring it penetrates the surface. Follow the manufacturer’s instructions for the application process and curing time. Buff the Surface: Once the sealer has dried, buff the surface with a soft cloth to remove any excess sealer and to achieve a glossy finish.
Step 4: Regular Maintenance
To ensure the longevity of your repaired artificial stone countertop, follow these regular maintenance tips:
Cleaning: Use a mild stone countertop cleaner and a soft cloth to clean the surface regularly. Avoid using abrasive cleaners that can scratch the stone. Immediate Spill Management: Wipe up spills immediately to prevent stains and damage. For tougher spills, use a stone countertop cleaner to break down and remove the stain. Avoiding Sharp Objects: Be cautious when placing knives or other sharp objects on the countertop. Use cutting boards to protect the surface from scratches and chips.
By following these advanced techniques, you can achieve a professional-looking repair that blends seamlessly with the rest of your artificial stone countertop. Regular maintenance will help to keep your countertop looking pristine and extend its lifespan.
In conclusion, repairing a broken artificial stone countertop doesn’t have to be a daunting task. By identifying the damage, gathering the right materials, and following detailed steps for preparation, application, and finishing, you can restore your countertop to its original beauty. With the right approach and care, your countertop will look as good as new and serve you well for years to come.