How to Handle Kitchen Countertop Cracks: DIY Solutions for a Flawless Finish
Welcome to your ultimate guide on handling kitchen countertop cracks with DIY solutions! Kitchen countertops are a focal point in any home, often bearing the brunt of daily activities. When cracks appear, they can be both an eyesore and a potential safety hazard. However, with the right approach and materials, you can restore your countertop to its former glory without the need for professional intervention. This first part will walk you through identifying the type of countertop you have, the tools you’ll need, and the initial steps to prepare for the repair.
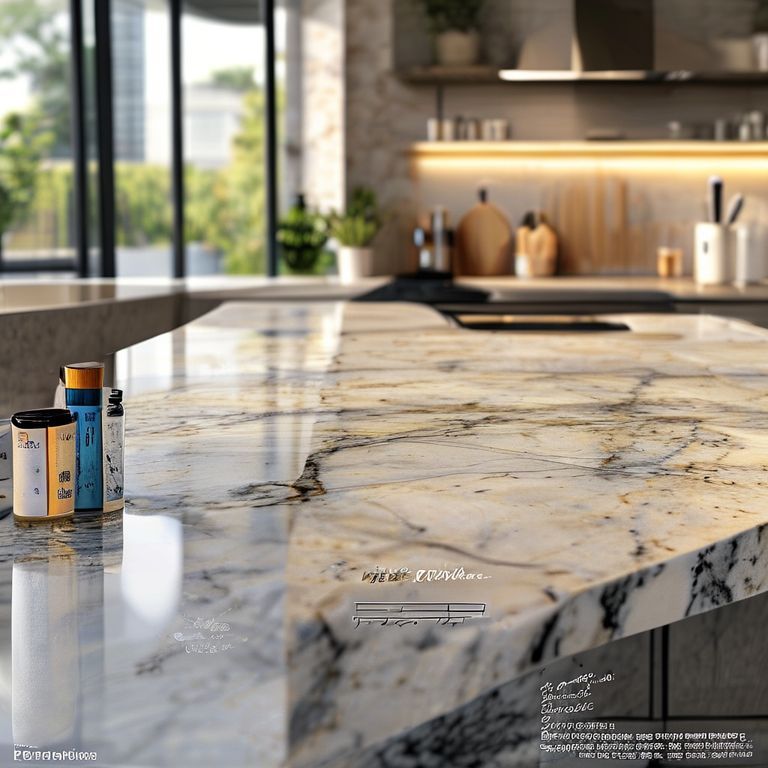
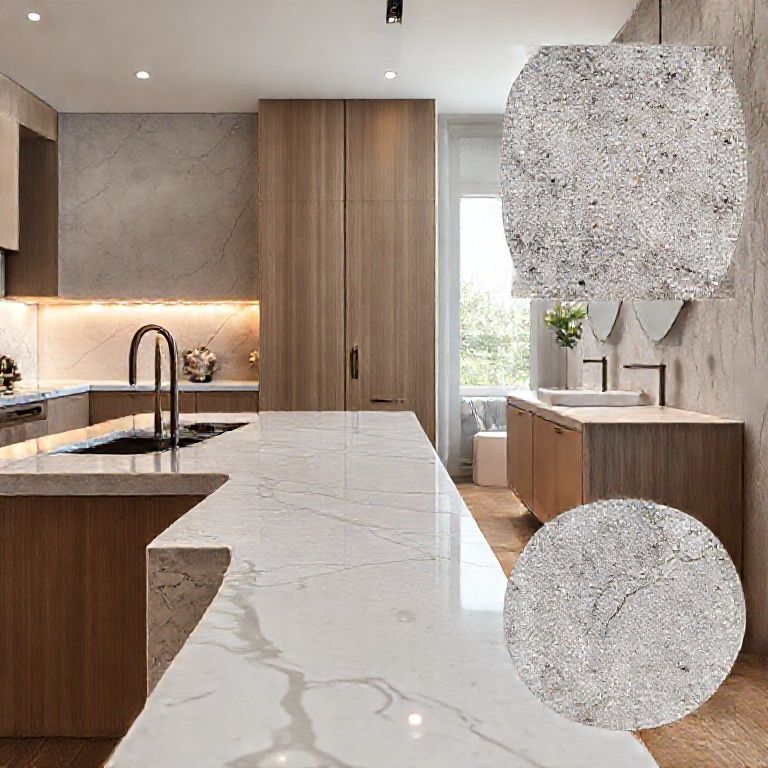
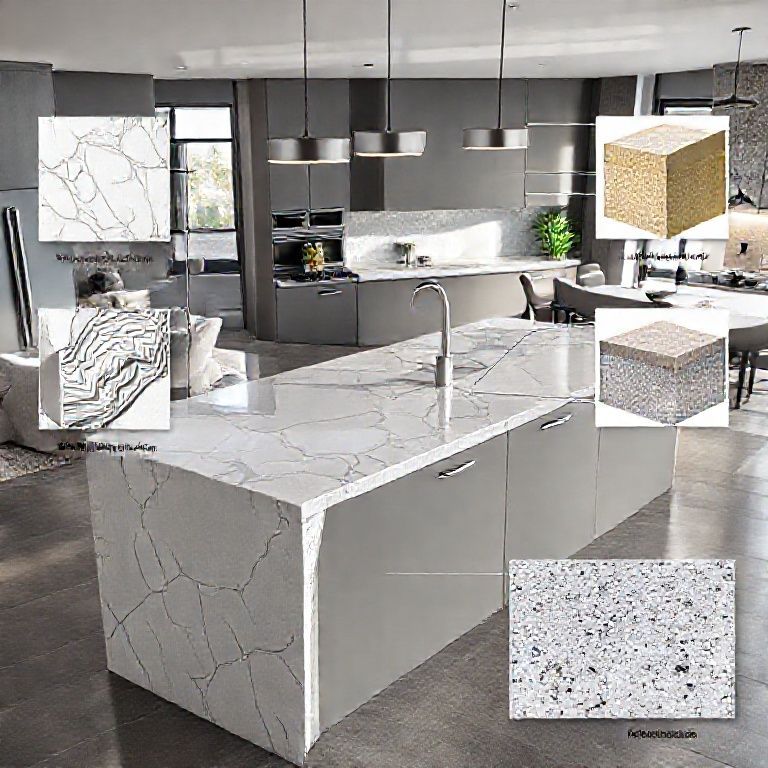
Identifying Your Countertop Material
The first step in any repair is understanding the material of your countertop. Kitchen countertops come in various materials, each with unique repair requirements:
Quartz Countertops: Quartz is a composite material made from 93% natural quartz and 7% resin. Cracks in quartz can often be fixed with a specialized epoxy resin.
Granite Countertops: Granite is a natural stone, and while it’s incredibly durable, it can still develop cracks. These cracks can be more challenging to repair but are still manageable with the right techniques.
Slate Countertops: Slate is another natural stone that can develop cracks. The repair process involves filling the cracks with a matching filler and sanding down the area.
Laminate Countertops: Laminate is a composite material that’s easier to repair. You can often use a laminate repair kit to fix minor cracks.
Solid Surface Countertops: Materials like Corian or Formica are synthetic and often have specific repair kits available.

Tools and Materials Needed
Regardless of your countertop material, here are some general tools and materials you’ll likely need:
Fine-grit sandpaper (120 to 220 grit) Cleaning cloths Masking tape Caulk remover or a sharp knife Countertop repair kit (specific to your countertop material) Putty knife or small spatula Clear sealant
Preparation Steps
Before you begin the repair process, it’s important to clean the area around the crack thoroughly. Use a cleaning cloth to wipe away any dirt, grease, or debris. This ensures that the repair materials will adhere properly to the surface.
Next, you’ll need to remove any old caulk or sealant that may be around the crack. This can be done with a caulk remover or a sharp knife. Carefully scrape away the old material to create a clean surface for the new repair.
Once the area is clean and prepped, you can begin the repair process. Remember to wear gloves and, if necessary, safety goggles to protect yourself during the repair.
Initial Repair Techniques
Depending on the severity and type of crack, the repair process can vary. Here are some general techniques for different countertop materials:
Quartz Countertops: Use a countertop repair epoxy specifically designed for quartz. Apply the epoxy according to the manufacturer’s instructions. Make sure to blend it seamlessly with the surrounding surface.
Granite Countertops: For granite, a specialized filler can be used. Apply the filler into the crack using a putty knife, then sand it down until it’s level with the countertop surface. Finally, polish the area to restore the shine.
Slate Countertops: Similar to granite, slate can be repaired with a matching filler. Apply the filler into the crack and let it dry. Once dry, sand the area smooth and polish to match the rest of the countertop.
Laminate Countertops: For laminate, a repair kit usually includes a patching compound and a heat source. Follow the kit instructions to apply the patch and heat it until it bonds with the countertop.
Solid Surface Countertops: Specific repair kits are available for solid surfaces like Corian. Follow the kit instructions to patch the crack and smooth the area.
How to Handle Kitchen Countertop Cracks: Advanced DIY Solutions for a Flawless Finish
Welcome back to our comprehensive guide on handling kitchen countertop cracks with DIY solutions! In this second part, we will delve deeper into advanced techniques for repairing cracks in various types of kitchen countertops. We will explore more intricate methods for specific materials, as well as preventive measures to ensure your countertop remains crack-free for longer.
Advanced Repair Techniques
As your confidence grows, you might encounter more challenging cracks that require advanced techniques. Here’s how to tackle these tougher repairs:
Quartz Countertops: For larger cracks in quartz, it might be necessary to remove a section of the countertop around the crack. Use a Dremel tool with a cutting disc to carefully remove the damaged area. Then, cut a new piece of quartz to fit the hole and use epoxy to secure it in place. Once the epoxy sets, polish the area to blend it seamlessly with the rest of the countertop.
Granite Countertops: Larger cracks in granite may require a more extensive repair. First, remove the damaged section using a Dremel tool. Cut a piece of granite to fit the hole and secure it in place with epoxy. Let it set, then grind and polish the area to match the surrounding surface.
Slate Countertops: Similar to granite, larger cracks in slate might need to be repaired with a larger piece of slate. Carefully cut out the damaged area, fit in a new piece, and secure it with epoxy. Once set, grind and polish the area to blend in with the rest of the countertop.
Laminate Countertops: For extensive damage, it might be best to replace the entire laminate section. Use a utility knife to cut out the damaged area, then install a new piece of laminate using the repair kit’s adhesive. Smooth and heat the patch to secure it.
Solid Surface Countertops: Larger cracks in solid surfaces often require professional repair, but minor repairs can be done with a specialized patching kit. Follow the kit’s instructions to blend the patch seamlessly into the countertop.
Preventive Measures
Preventing future cracks is always better than repairing them. Here are some tips to keep your kitchen countertops crack-free:
Use Cutting Boards: Always use cutting boards when chopping food. This prevents direct contact between knives and the countertop, reducing the risk of cracks.
Avoid Sharp Objects: Don’t place sharp objects or heavy items directly on the countertop. Use trivets or cutting boards to protect the surface.
Clean Properly: Regularly clean your countertops to remove grease and food particles. Use appropriate cleaning solutions and avoid abrasive cleaners that can scratch the surface.
Heat Protection: Use pot holders or trivets when handling hot pots and pans. Direct heat can cause cracks, especially in natural stone countertops.
Regular Maintenance: Regularly check your countertops for any signs of wear or damage. Addressing small issues early can prevent them from becoming larger cracks.
Final Touches
After completing your repairs, it’s important to seal the countertop to protect it from future damage. Use a clear sealant appropriate for your countertop material. This will not only add a layer of protection but also enhance the aesthetic appeal of your kitchen.
Sealing your countertop is a crucial step in the maintenance process. Apply the sealant according to the manufacturer’s instructions, ensuring even coverage. Allow it to cure completely before using the countertop.
Conclusion
Handling kitchen countertop cracks with DIY solutions is entirely possible with the right knowledge and tools. By understanding the material of your countertop and following detailed repair techniques, you can restore the beauty and functionality of your kitchen. Remember, prevention is key, so take steps to protect your countertop from future damage. With these expert tips and methods, you’ll be well-equipped to keep your kitchen countertops in pristine condition. Happy repairing!
This comprehensive guide covers everything from initial identification and basic repair techniques to advanced methods and preventive measures, ensuring your kitchen countertops remain flawless and safe for years to come.